
DIY & Crafts
Digital craft: Personalized Valentine's gift wrap

DIY & Crafts
Digital craft: Personalized Valentine's gift wrap
You've bought the cinnamon hearts and whipped up some of your famous chocolate bark for your valentine. Now you're looking for a quick and easy way to package your sweet treasures. Head to your computer to whip up some wraps faster than you can say "Cupid."
Materials
• Valentine's Day treats (e.g., candy hearts, chocolates, etc.)
• Ruler
• Matte photo paper and/or white printer paper
• Colour printer
• Utility knife or sharp scissors
• Nontoxic glue
• Embellishments -- ribbon, grommets, etc. (optional)
Step 1: Pick a pattern
• Open an 8-1/2- x 11-inch document in your photo-editing program.
• Use different shapes or clip art to lay out your pattern on the page.
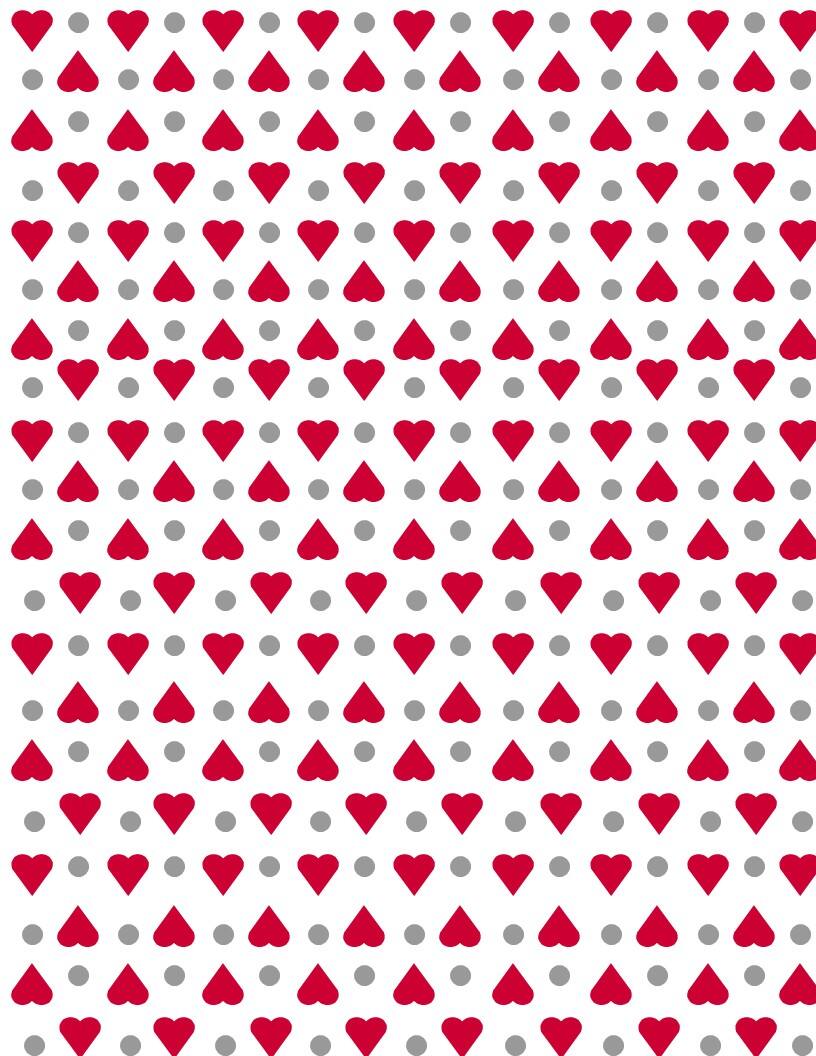
• We created two patterns. For the first, we repeated the shapes in different sizes and angles on the page.
• We copied one tiny heart multiple times with a polka dot to create our second pattern.
• Choose a colour combination and fill your shapes with the selected hues.
Step 2: Decide what type of wrapper to create
• We had two different treats to wrap: conversation hearts and a gourmet chocolate bar.
• For the bar we opted to simply print one of our patterns on white printer paper and use that page as gift wrap.
• For the conversation hearts, we wanted to create something a little sturdier.
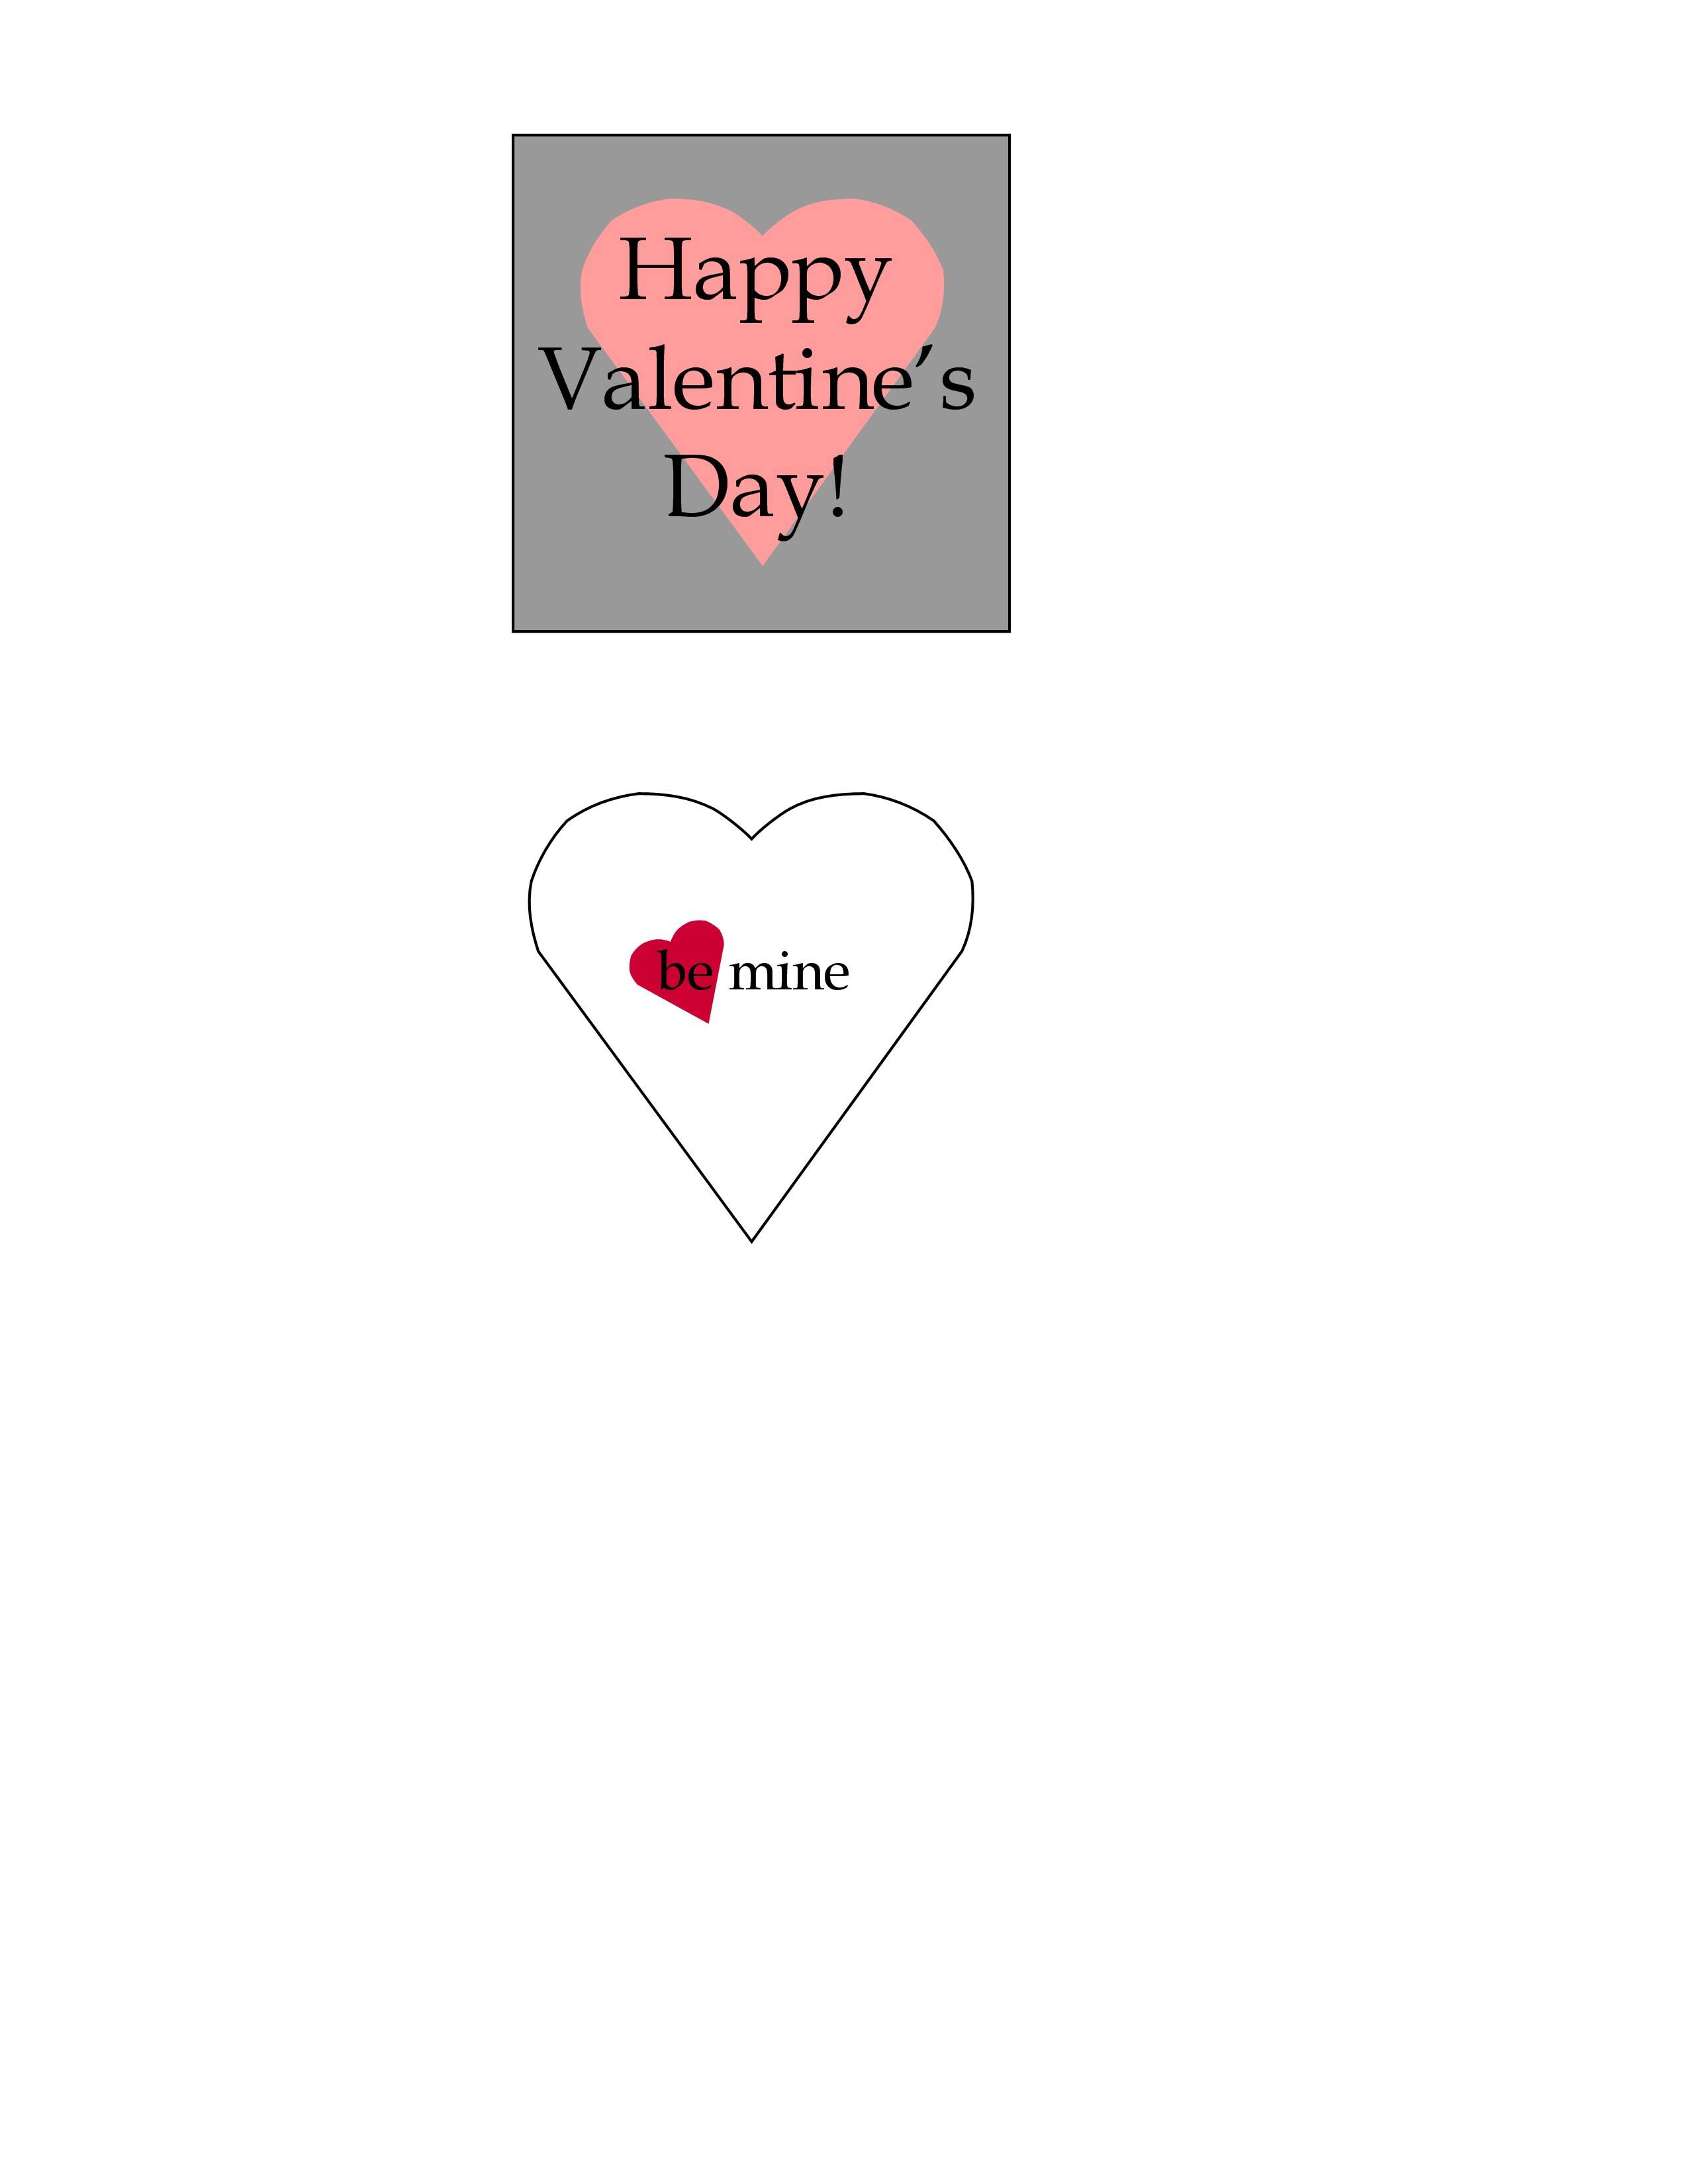
• On a blank 8-1/2- x 11-inch document in our photo-editing program, we used circle and square shapes to put together a template for an envelope. You could also use the squares and rectangles to create a mini chocolate box.
• Click here to download our envelope template.
Step 3: Print and assemble your wrappers
• Print your template and the pattern you'd like to use for your envelope on matte photo paper using your printer's best-quality setting.
• Cut out the template and trace it on the back of your pattern paper.
• Use a ruler to help fold along the lines and glue the sides in place, leaving one side open for the candy.
• Once the glue has dried, fill your envelope and then seal the last flap with a sticker or coloured tape.
Step 4: Add embellishments
• Using the same colour scheme, we printed matching tags for each of our gifts.
• For the grey and pink, we added grommets to string through some ribbon and for the red and grey, we wrapped thread around the parcel and then stuck the tag underneath.
• Click here to download our patterns: small hearts and dots, different sizes of hearts, and gift tags.
Page 1 of 1
Comments