
DIY & Crafts
Photo Tutorial: How to Make a Simple Picture Mat

DIY & Crafts
Photo Tutorial: How to Make a Simple Picture Mat
- Picture frame with glass
- Acid-free scrapbooking paper
- Rotary cutter (use an old bunged-up blade that's not good for material anymore)
- Photograph
- Pen or pencil
- Ruler
- Utility, craft or X-acto knife
- Acid-free adhesive tape

Instructions
1. Remove backing and glass from frame. Lay scrapbooking paper, right side down, on cutting mat, and lay glass over top.

2. Using rotary cutter, cut paper to same dimensions as glass. As you turn the paper to cut each side, make sure all cut edges of the paper are aligned with the edges of the glass to make a perfect rectangle.

3. Lay photograph, right side down, on paper. Trace around photograph onto paper.

4. Remove photograph. Decide how much mat you want to cover edges of photograph. Using ruler, measure in from already marked line, equal to overlap amount. Mark cutting line on paper.
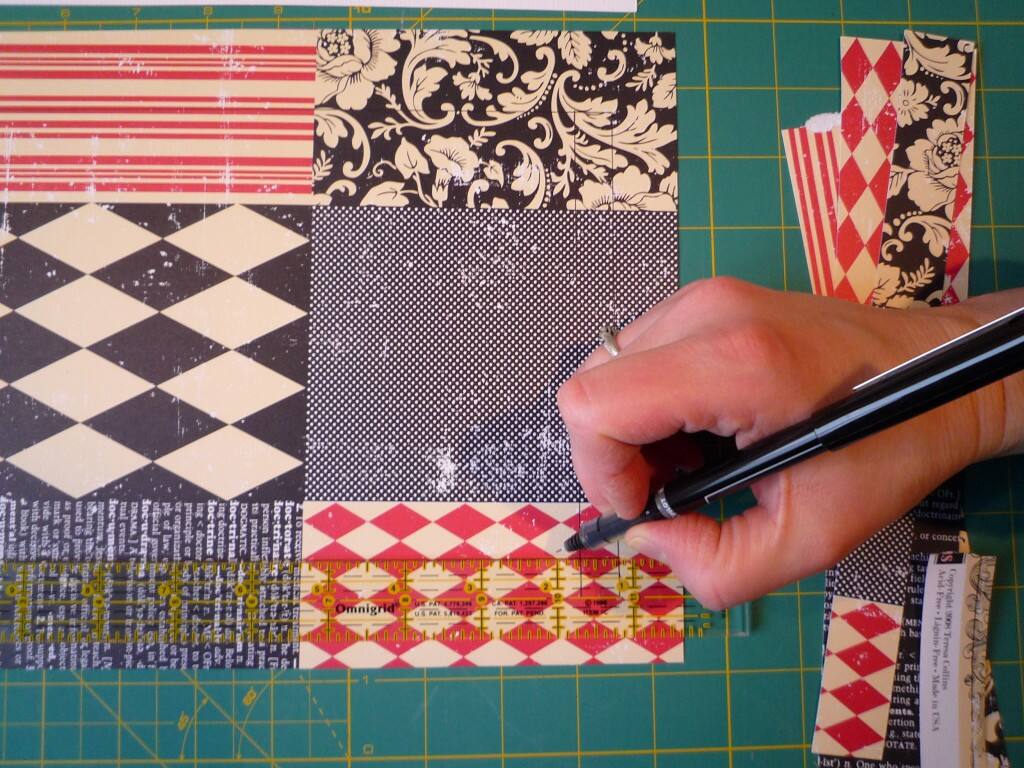
5. Using craft knife, cut along inner line, being careful not to overcut corners. Set aside cut rectangle for another use.

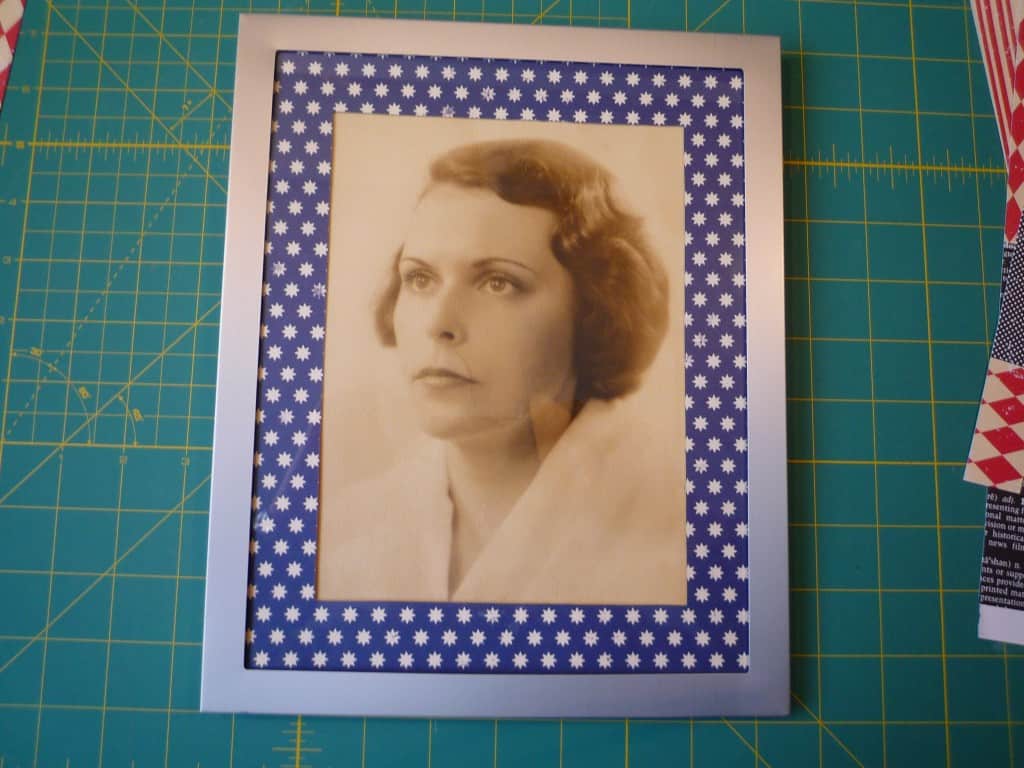
6. Centre photograph, right side down, over wrong side of paper mat. Tape each corner diagonally to secure.

7. Turn photo over and check to make sure it looks even and centred. Adjust if not.

8. Insert matted photo into frame and replace backing.
9. Admire your handiwork!

FYI, that's my maternal grandmother, Beebee, on the left and my maternal great-grandmother, Tootsie, on the right. Both were fabulous knitters, and I love having them supervise my craft room.
Comments