
DIY & Crafts
DIY: Desktop Calendar

Image by Valerie Wilcox
DIY & Crafts
DIY: Desktop Calendar
Learn how to make this easy and customizable desktop calendar. Once assembled, this trusty office essential can be used year after year.
Start every day off right with this handy DIY desktop calendar.
Materials
• Sandpaper
• Unfinished wood shadow box
(8- x 12-inch)
• White spray paint
• 26 kraft paper tags (2½- x 5-inch)
• Pencil
• Drill
• Measuring tape
• Utility knife
• High-quality gift wrap or wallpaper remnant
• Non-corrugated cardboard
• Spray adhesive
• Shoulder hooks
• 2-inch white number stickers (days)
• 1-inch white letter stickers (months)
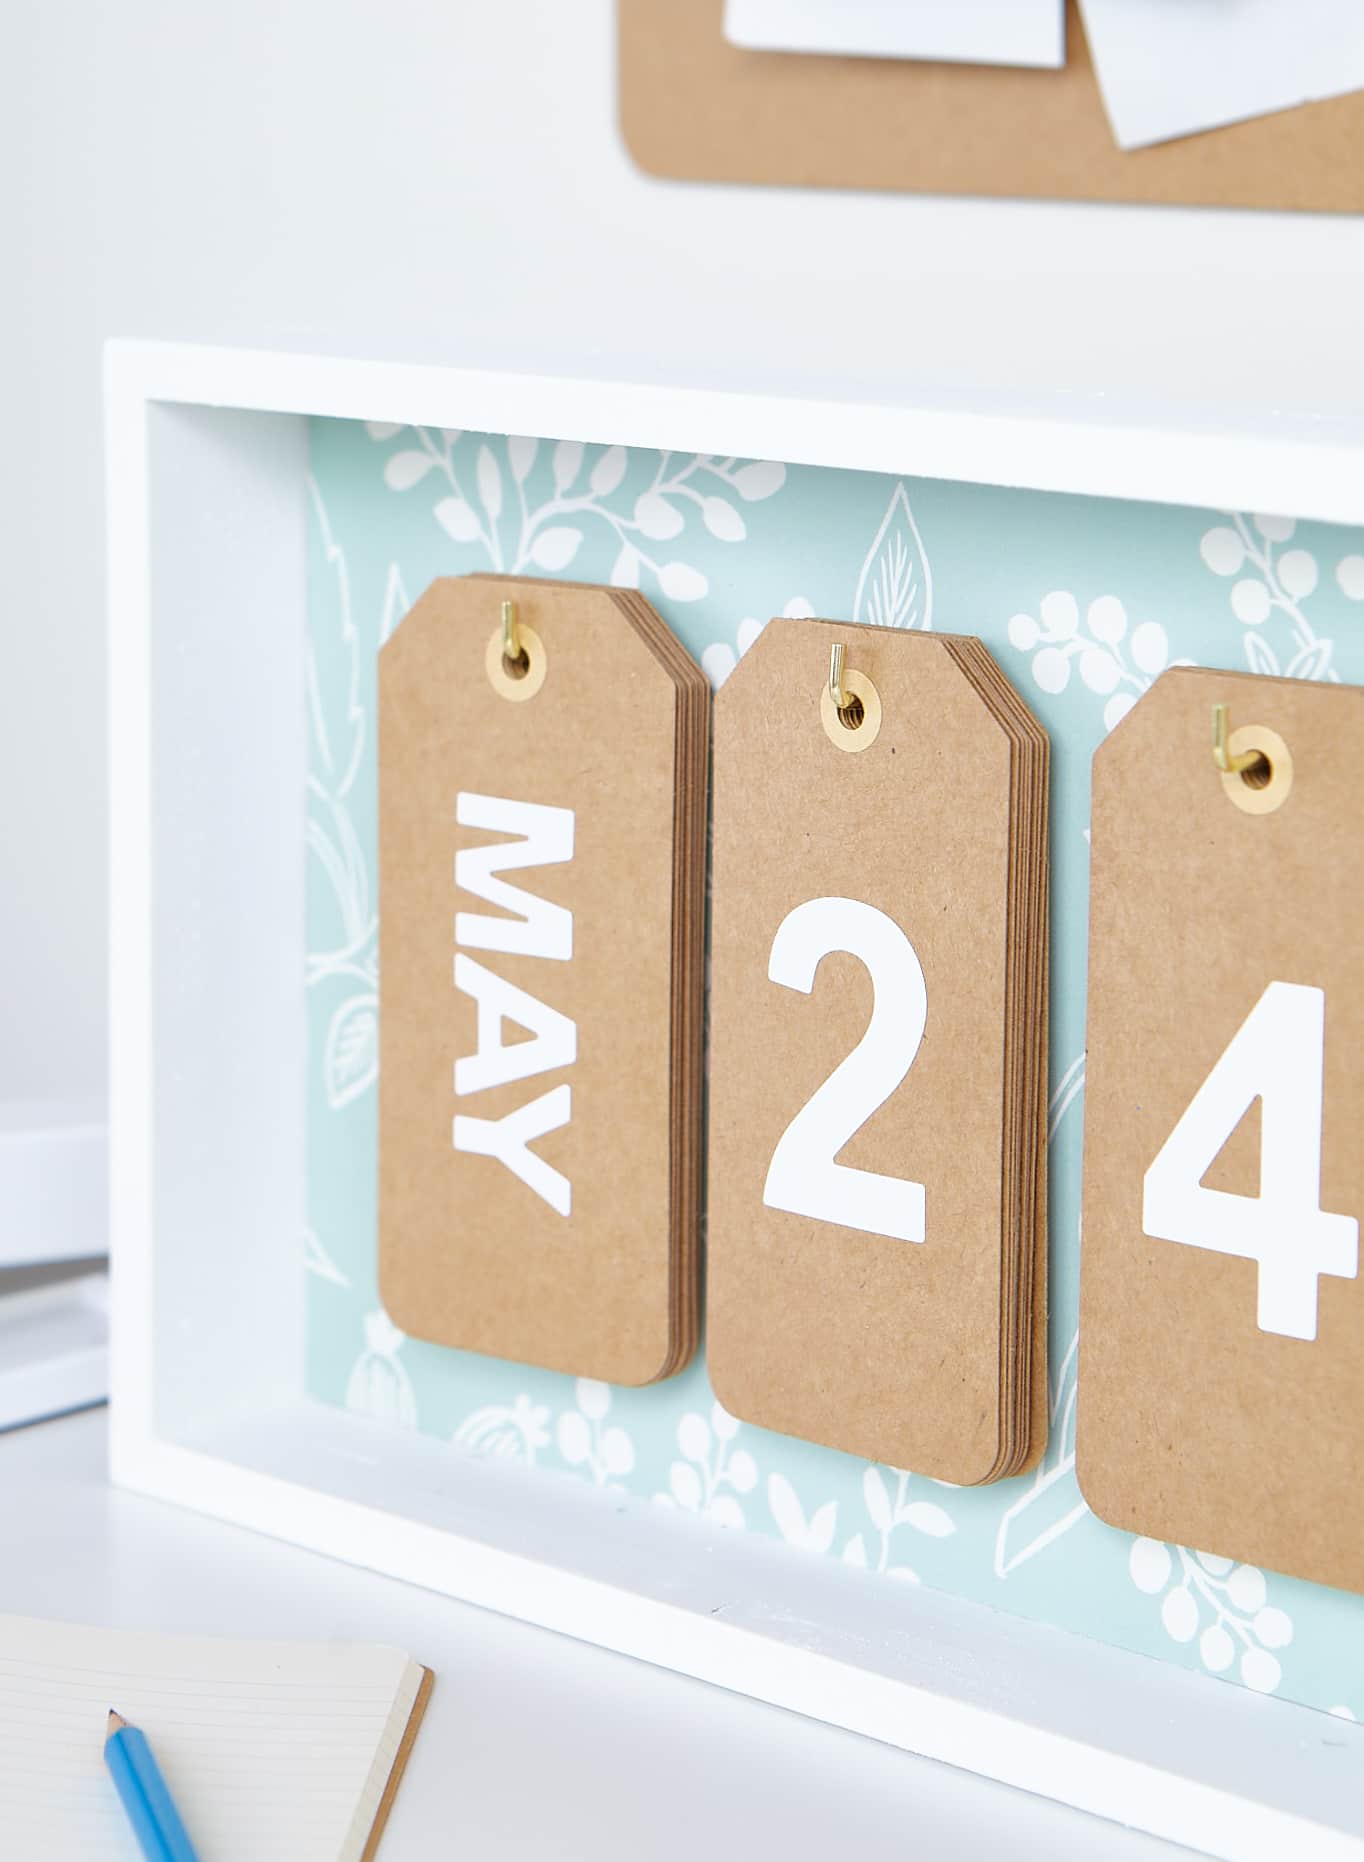
Image by Valerie Wilcox
How To
1. Lightly sand the shadow box to smooth its surfaces. Dust off. Apply two coats of spray paint according to the manufacturer’s instructions. Let dry.
2. Place three of the paper tags side by side inside the shadow box. Adjust placement so they are centred and equidistant. Draw a mark at each tag’s hole. Drill pilot holes at each mark for the hooks. Dust off.
3. Measure the inside of the shadow box and cut the gift wrap and cardboard accordingly. Apply the spray adhesive to one side of the cardboard and place the sized gift wrap on top, smoothing out any air bubbles. Spray the back of the cardboard and place it inside the shadow box, pressing down firmly to ensure adhesion.
4. On the back of the shadow box, poke the drill bit through the pilot holes to pierce the cardboard and gift wrap. Screw the hooks into the holes on the front side of the shadow box.
5. Stick the numbers 0 through 9 onto 10 of the tags. Stick the numbers 0 through 3 onto four of the tags. Stick the letters onto the remaining 12 tags (three per tag, denoting abbreviated months). Hang the first set of numbers onto the rightmost hook, the second set onto the middle hook and the months onto the leftmost hook.
SHOULDER HOOKS, stockade.ca.
Comments