
DIY & Crafts
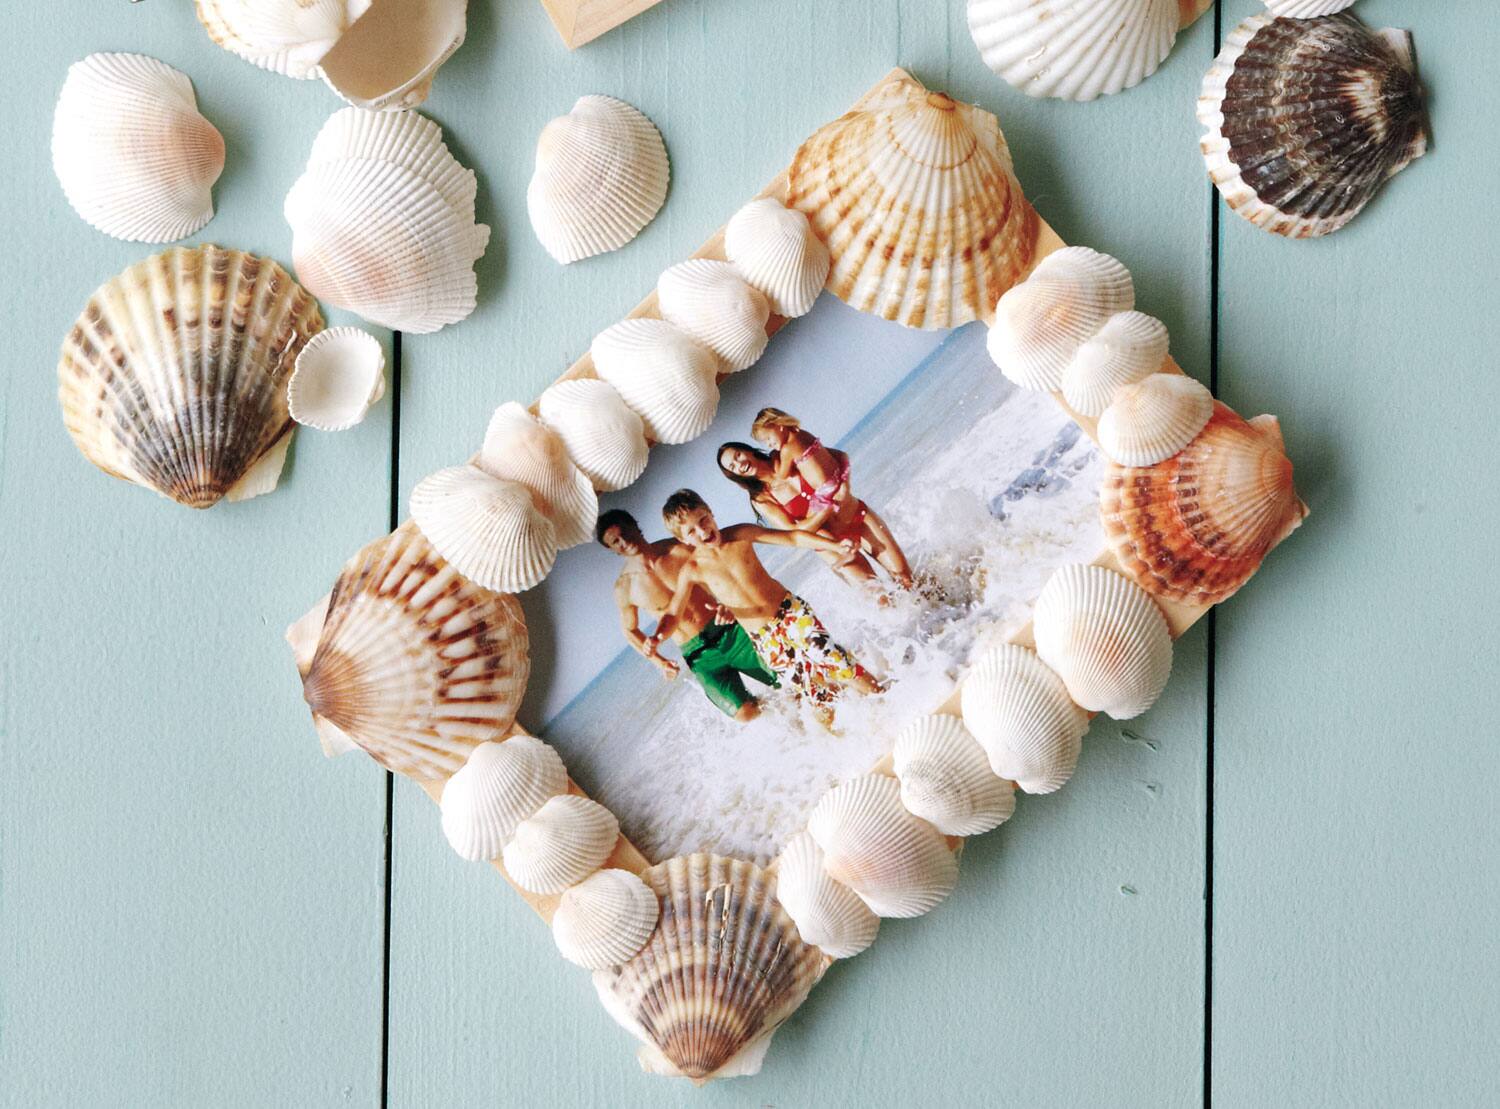
How to make a seashell picture frame

Photography by Ryan Brook /TC Media Image by: Photography by Ryan Brook /TC Media
DIY & Crafts
How to make a seashell picture frame
This simple craft is the perfect activity to keep the kids occupied on a rainy afternoon
at the cottage -- and it puts that shell collection to good use. No shells? Substitute bits of driftwood or beach glass -- even bottle caps would work. Remember that young kids need supervision when using a glue gun.
You need:
• Shells
• Picture frame
• Photograph
• Low-temperature glue gun
Take a look at a larger image of this fun beachy frame.
To make:
1. Rinse shells with fresh water to remove sand, algae and other residue. Let dry.
2. Arrange shells on picture frame as desired. (TIP: Take a digital photograph to help you remember the exact placement of the shells.)
3. With the glue gun, carefully apply glue to bottom of one shell; place shell on frame. Continue until all shells are adhered.
4. Insert photo into frame.
Can't get enough crafting? For more inspiring ideas and DIY tips visit The Craft Blog.
| This story was originally titled "Framed!" in the August 2012 issue. Subscribe to Canadian Living today and never miss an issue! |
Comments